
Cost allocation tags are key:value billing metadata that let you attribute AWS spend to a project, team, or environment instead of one lump invoice. They only work once activated in your management payer account, feeding Cost Explorer and the Cost and Usage Report. The single next action: define a minimal tag set (Project, CostCenter, Env) and enforce it before resources get provisioned, not after.
TL;DR:
- Cost allocation tags only influence billing reports after activation and are not retroactive, requiring timely enforcement at resource creation.
- Implementing a minimal, enforced tagging scheme—focused on CostCenter, Project, Env, and Owner—maximizes reporting accuracy and reduces complexity.
- Automated tag enforcement and ongoing health audits are essential to maintain high percentage coverage and prevent drift over time.
- Shared infrastructure and legacy resources may resist tagging and require alternative grouping methods like Cost Categories for accurate attribution.
- Continuous monitoring tools and managed FinOps services can help organizations sustain tagging discipline and improve cost visibility beyond initial setups.
Table of Contents
- What Cost Allocation Tags Are and How AWS Implements Them
- Tag Types and the Quotas That Shape Your Design
- How to Activate and Apply Cost Allocation Tags
- Building a Tagging Strategy Your FinOps Team Can Actually Enforce
- What Tags Can’t Do: Limitations, Backfill, and Shared Resources
- Turning Tags Into Reports: Cost Explorer, CUR, and Cost Categories
- Why Tagging Fails as a One-Time Project
- Get Tagging Coverage Without Chasing Every Untagged Resource Yourself
- Where to Go Deeper on AWS Tagging
- Sources
What Cost Allocation Tags Are and How AWS Implements Them
A cost allocation tag starts as a resource tag: a key and value you (or AWS) attach to an EC2 instance, S3 bucket, or Lambda function. That tag only becomes a billing dimension once you activate it in Billing and Cost Management. Before activation, the tag exists on the resource but stays invisible to your finance team.
Once active, the tag key shows up as a filterable column in the Cost and Usage Report (CUR) and as a groupable dimension in Cost Explorer. This is the distinction most teams miss: resource tags and cost allocation tag dimensions are not the same thing. You can tag every instance in your fleet and still see nothing in your billing reports if nobody flipped the activation switch.
Tag Types and the Quotas That Shape Your Design
AWS splits tags into two categories. User-defined tags are ones you create, like costcenter:4471 or env:staging. AWS-generated tags carry the reserved aws: prefix, including things like aws:createdBy or awsApplication, and AWS documents these separately from your own schema. Some AWS-generated tags do not count against your tag quota, which matters once you approach the per-resource tag ceiling.
Not every service supports the same tag limits or even tagging at all. Check AWS Service Quotas’ tagging guidance before you design a schema around a service that might not honor it.
How to Activate and Apply Cost Allocation Tags
The sequence is straightforward, but the order matters more than people expect:
- Define your tag keys in a governance document before anyone touches the console.
- Apply tags at resource creation using Tag Editor for existing infrastructure, or CloudFormation and Terraform for anything new.
- Activate the tag keys for cost allocation inside your management payer account, under Billing and Cost Management.
- Verify the keys are populating correctly in Cost Explorer and the CUR.
Give it time. AWS states activation can take up to 24 hours before tags appear in reporting tools, and activation is never retroactive. If your automation pipeline (Terraform modules, Service Catalog products, CI/CD tagging hooks) doesn’t enforce keys at provisioning, you’ll spend the next quarter chasing untagged resources by hand.
Building a Tagging Strategy Your FinOps Team Can Actually Enforce
Tagging fails as a one-time cleanup project. It works as an ongoing program, which is exactly how AWS’s prescriptive guidance frames it: define a dictionary, publish it, set enforcement rules, apply tags, then measure and evolve.
Start with a published tagging dictionary that names your mandatory keys and the allowed values for each. FinOps practitioners consistently recommend keeping that mandatory list short rather than sprawling, since adoption drops fast once a schema gets complicated.
A workable minimum set looks like this:
- CostCenter: the budget line the spend rolls up to
- Project: the initiative or product the resource supports
- Env: production, staging, or development
- Owner: the team or individual accountable for the resource
Enforcement is where most tagging programs actually die. AWS Tag Policies and Service Control Policies can block or flag noncompliant resource creation, and embedding tags directly into your infrastructure-as-code templates keeps values normalized so you don’t end up with prod, Production, and PROD splintering your reports into three buckets.
Pro Tip: Run a weekly tag health audit that flags anything with a missing CostCenter or Owner value, and route it to a named steward, not a shared inbox nobody checks.
Track success as a single number: percent of spend attributed by tag. Set a target, usually climbing toward the high 80s or 90 percent range, and review the trend monthly rather than treating it as a set it and forget it metric.
What Tags Can’t Do: Limitations, Backfill, and Shared Resources
Activated tags apply only to future billing data. That’s the line every FinOps lead needs to internalize: tags are not retroactive, so a tag you activate today does nothing for last quarter’s invoice.
Some infrastructure resists clean tagging entirely, particularly shared platforms and legacy resources. Common workarounds:
- Use Cost Categories to group untaggable or inconsistently tagged resources into a consistent reporting structure.
- Separate accounts by team or environment when tagging discipline is unreliable.
- Lean on usage-pattern or telemetry-based allocation for genuinely shared infrastructure like a shared Kubernetes cluster.
Reconstructing historical attribution is possible by matching CUR usage types and resource IDs against telemetry, but it’s slow and rarely complete. It’s a fallback, not a strategy. And resist the urge to over-tag. A schema with thirty mandatory keys collapses under its own weight; a lean, enforced set beats an exhaustive one nobody follows.
Turning Tags Into Reports: Cost Explorer, CUR, and Cost Categories
Once a tag is active, it becomes a filter and group-by dimension across AWS’s reporting stack. A meta-tagging layer like Cost Categories sits on top of that, letting you group accounts or normalize inconsistent tag values without touching the underlying resources.
A practical build sequence for a recurring report:
- Filter Cost Explorer or your CUR export by the
Projecttag key. - Save that view as a recurring report, refreshed daily or weekly depending on spend velocity.
- Attach a budget alert tied to the same tag filter so overages trigger notifications automatically.
- Layer anomaly detection on top, scoped to the tag, so a spike in one project doesn’t get lost in aggregate totals.
Use Cost Categories when you need consistent grouping across resources that can’t be tagged the same way. Use tags when you need granular, per-resource attribution. Most mature FinOps setups run both.
Why Tagging Fails as a One-Time Project
Most tagging efforts collapse for a predictable reason: someone treats it as a launch task instead of a maintained system. It needs people who own the dictionary, a process that enforces it at provisioning, and automation that catches drift before it compounds across a hundred accounts.
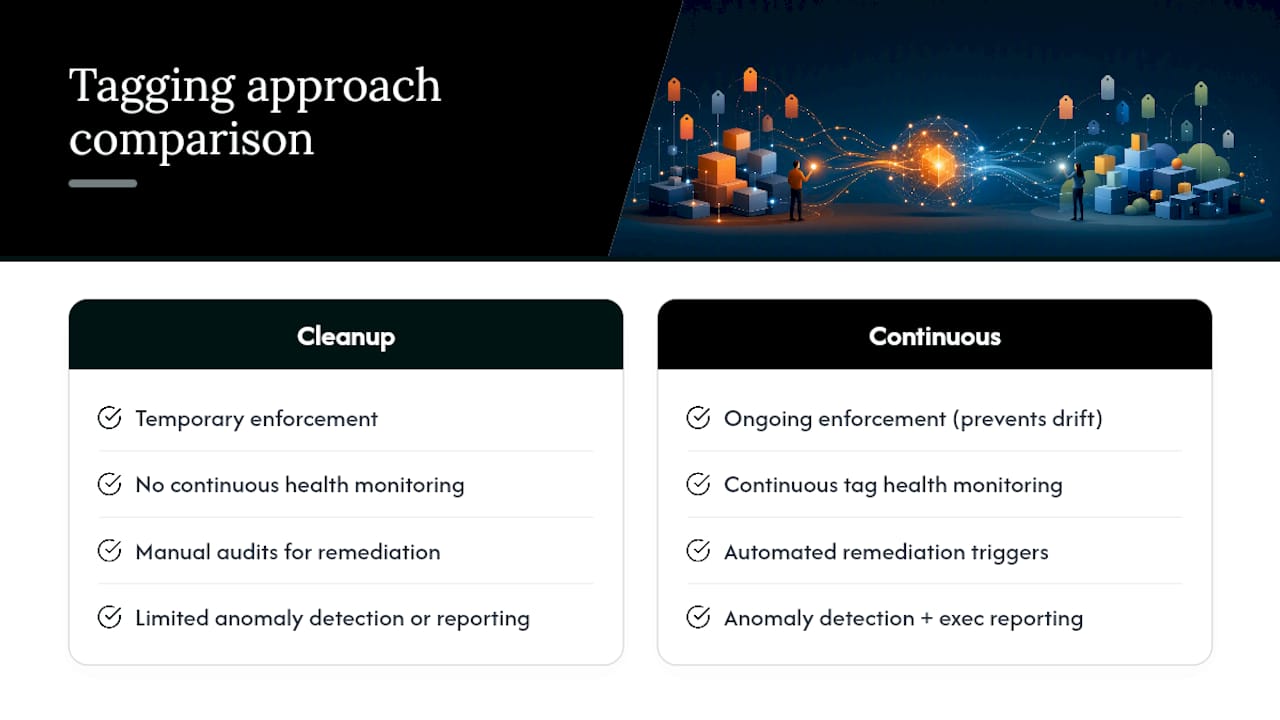
That’s a gap that can be closed by continuous monitoring platforms. Continuous monitoring flags tag health drift as it happens instead of at quarter-end, and automated remediation workflows push corrections back to resource owners rather than burying them in a spreadsheet. The result FinOps teams actually care about is allocation coverage that climbs and stays up.
If you’re setting this up yourself, run this weekly:
- Publish the tagging dictionary and get sign-off from every team that provisions resources.
- Enforce mandatory keys at provisioning through tag policies or IaC, not after the fact.
- Activate the keys in your management payer account and confirm they’re populating in Cost Explorer.
- Run a tag health check every week, not every quarter.
- Map anything untaggable to Cost Categories so it doesn’t disappear from your reporting.
— Dan
Get Tagging Coverage Without Chasing Every Untagged Resource Yourself
Most FinOps teams that build their own tagging program hit the same wall: the dictionary gets published, enforcement holds for a month, and then drift creeps back in as new accounts and teams spin up faster than anyone can audit. Some platforms close that gap with continuous, automated tag governance instead of a one-time cleanup sprint.
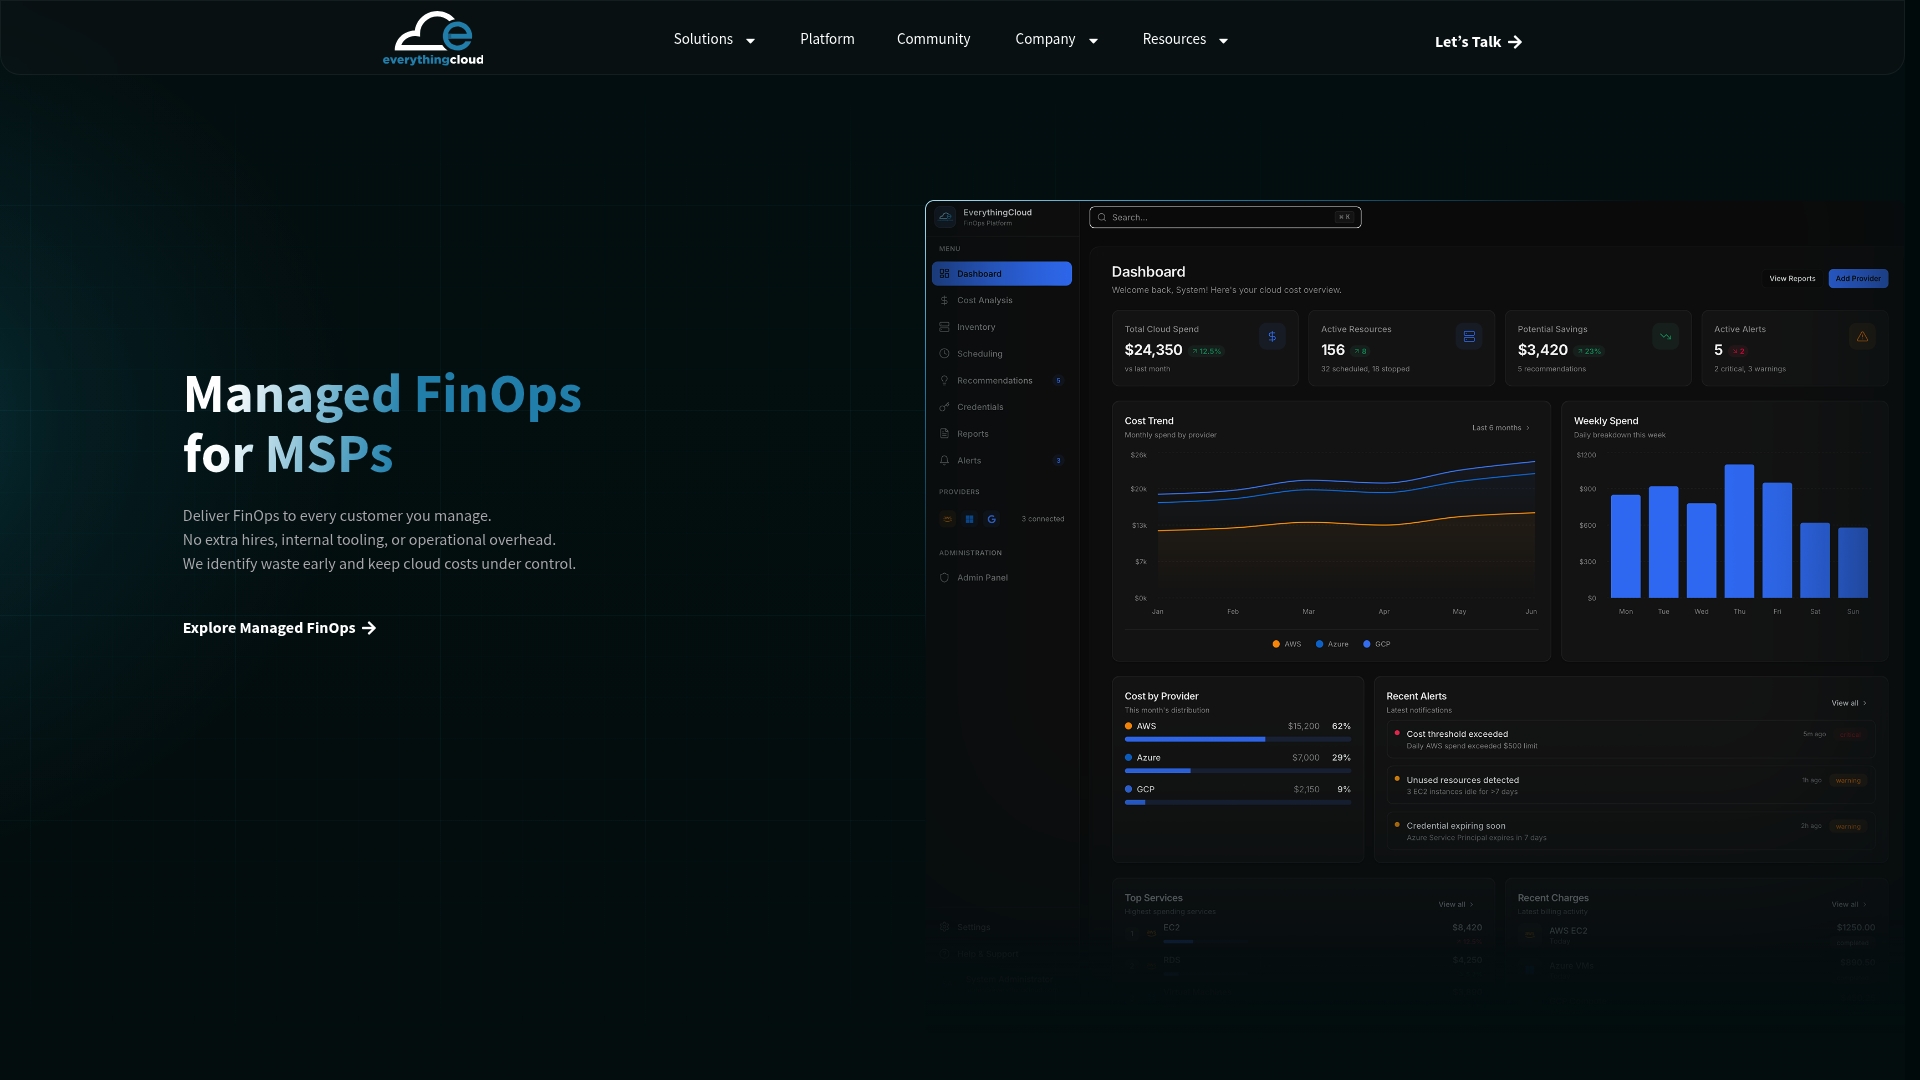
Some platforms run automated tag enforcement and continuous tag health monitoring across your AWS estate, flagging drift and triggering remediation before unallocated spend piles up on next month’s invoice. Paired with anomaly detection and executive reporting, it gives finance and engineering leaders the same view of what’s driving cost and who owns it. For MSPs and enterprise teams, Everythingcloud’s Managed FinOps service handles the ongoing tagging discipline that most internal teams don’t have the headcount to sustain.
If unallocated spend is already a recurring line item in your cost reviews, request an evaluation through Everythingcloud’s cloud waste assessment and see where your current allocation coverage actually stands.
Where to Go Deeper on AWS Tagging
For direct implementation detail, start with AWS’s own tag activation steps, the cost allocation tag reference covering tag types and quotas, and the prescriptive tagging strategy guide for building a governance program. For allocation targets and coverage benchmarks, see Everythingcloud’s guide to hitting 90% cloud cost visibility.
Sources
- Activating cost allocation tags
- Leveraging AWS cost allocation capabilities to meet your business needs